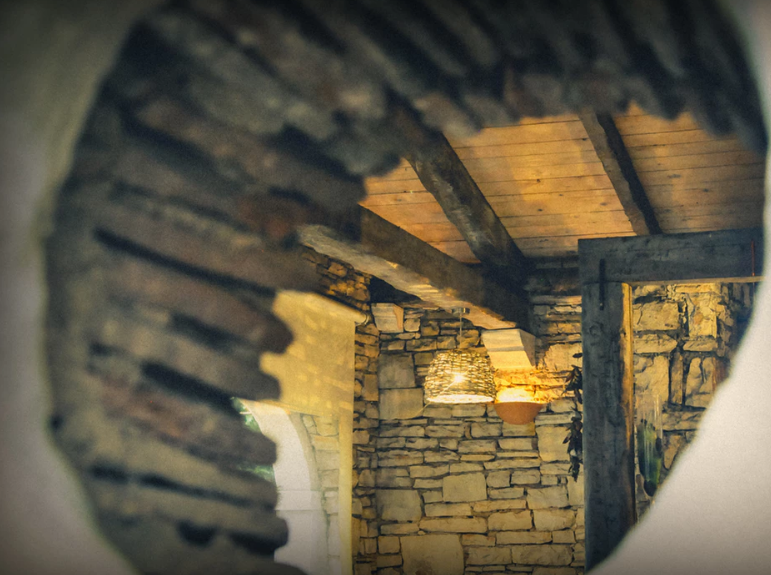
How to Repair or Replace Beat Up Interior Wood

Wood is one of the best ways of adding warmth to an interior. All over the world, you will find houses with different forms of trim wood including ceilings, baseboards, doors, and windows, as well as floor molding. Typically, trim molding is made from soft wood thus highly susceptible to damage. These surfaces can easily sustain damage from simple day-to-day activities such as vacuuming or moving furniture in your living room. Pets, too, have been known to scratch or chew on such surfaces leading to damages.
Fortunately, wood is easy to repair, whether you are working with standard tools or machines. Trim wood, be it the floor, ceiling, or any other surface within your house, is pretty easy to repair rather than replace when damaged.
There are numerous advantages to adding, replacing, or repairing interior wood in your Michigan house. For starters, it increases the value of your home and spruces up dull rooms in the house. On top of that, it’s affordable, and you don’t have to dig too deep into your pockets to complete such a home improvement project in Macomb County.
Repair Damaged Trim Molding
Surfaces made from interior wood need to be kept clean at all times to prevent damage. Fixing problems such as dings, cracks, and scratches on wood trim should be a simple task. If part of the surfaces seems to be seriously damaged, you may want to consider replacement rather than repair. Otherwise, you can hide or cover up gouges and minor scratches with the right materials. But first, you have to clean the surface to get rid of the grime and grease.
Cleaning
Cleaning interior wood surfaces before repairing them creates a contaminant-free surface for your new finish. Use the correct cleaning solution — TSP substitute, for instance — and don’t apply too much, use an amount that just enough to wet the wood surface. Use a sponge or soft clothing for scrubbing and rinse with clean water afterward. If there are any paint splatters, clean them up too. You can use alcohol for that. Use a dry piece of clothing to dry the surface when you are done.
Remove Badly Damaged Areas
Some parts of the woodwork may be badly weathered, and if that’s the case, they need to come off. You can remove them using a sandpaper to get rid of the old finish or scraping them off with a carbide paint scraper. Scrap and sand discoloured parts of the wood to expose bare wood. Areas exposed to sunlight and moisture need to be scraped off too before refinishing. In some cases, the woodwork has some parts that are deeply stained by water where sanding or scraping won’t work, use oxalic acid to remove these stains.
Repair Trim
The cleaning, wiping, or sanding won’t make gouges, nicks, and scratches on your trim go away. You will have to fix them. Before you start covering up the problem areas in your woodwork, you need to roughen up the surface by rubbing the wood with an abrasive pad. Use a synthetic finishing pad; it will roughen up the surface without causing too much damage to the finish. Roughening up the surface allows the new finish to stick well.
You can repair wood surfaces with epoxy filler or wood putty, depending on the extent of the damage. Use epoxy filler if the damage is extensive. For cracks and dents in your trim molding, you can use wood putty. Soft wood putty is perfect for filling holes left by screws and nails, and it’s easy to apply. All you have to do is fill the putty into the damaged area and wipe off with your finger. You don’t even have to sand it.
Excess putty around a filled hole can be removed with a clean rag. There are several shades of wood putty, so make sure that you use the right one. If your trim wood is light, buy a light shade of wood putty and vice versa. If you are planning on using water-based polyurethane, buy water-based putty. As mentioned above, you can only use wood putty if you are fixing small damages.
Replacing Damaged Trim
If your baseboard, floor, or ceiling is too weathered to fix with a simple repair, you can replace it. Trim wood is inexpensive, and with a saw and a miter box, you can do it yourself. So, if you are dealing with trim that you think is beyond repair, don’t shy away from removing it and replacing it yourself. Just make sure that you have all the necessary tools at your disposal.
